


Gray Archery
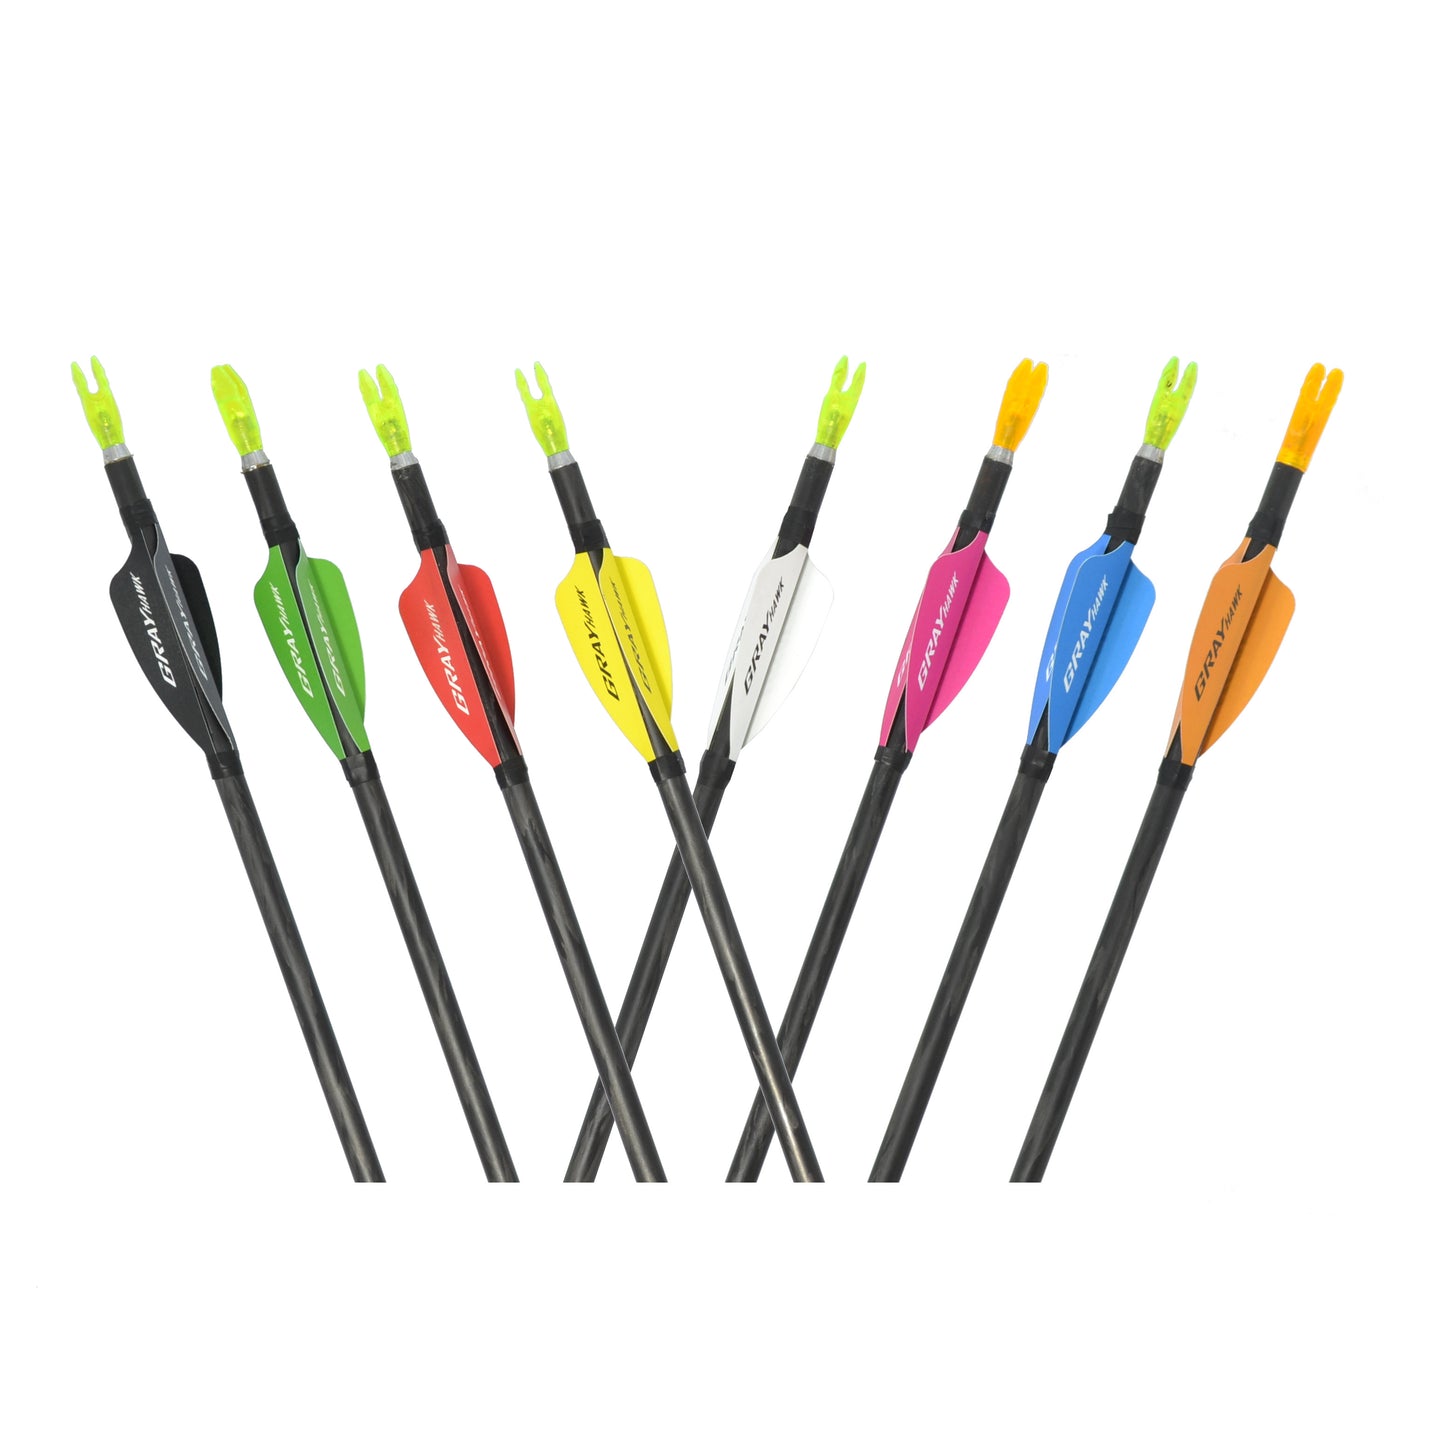
GRAY HAWK Vanes
GRAY HAWK Vanes
Couldn't load pickup availability
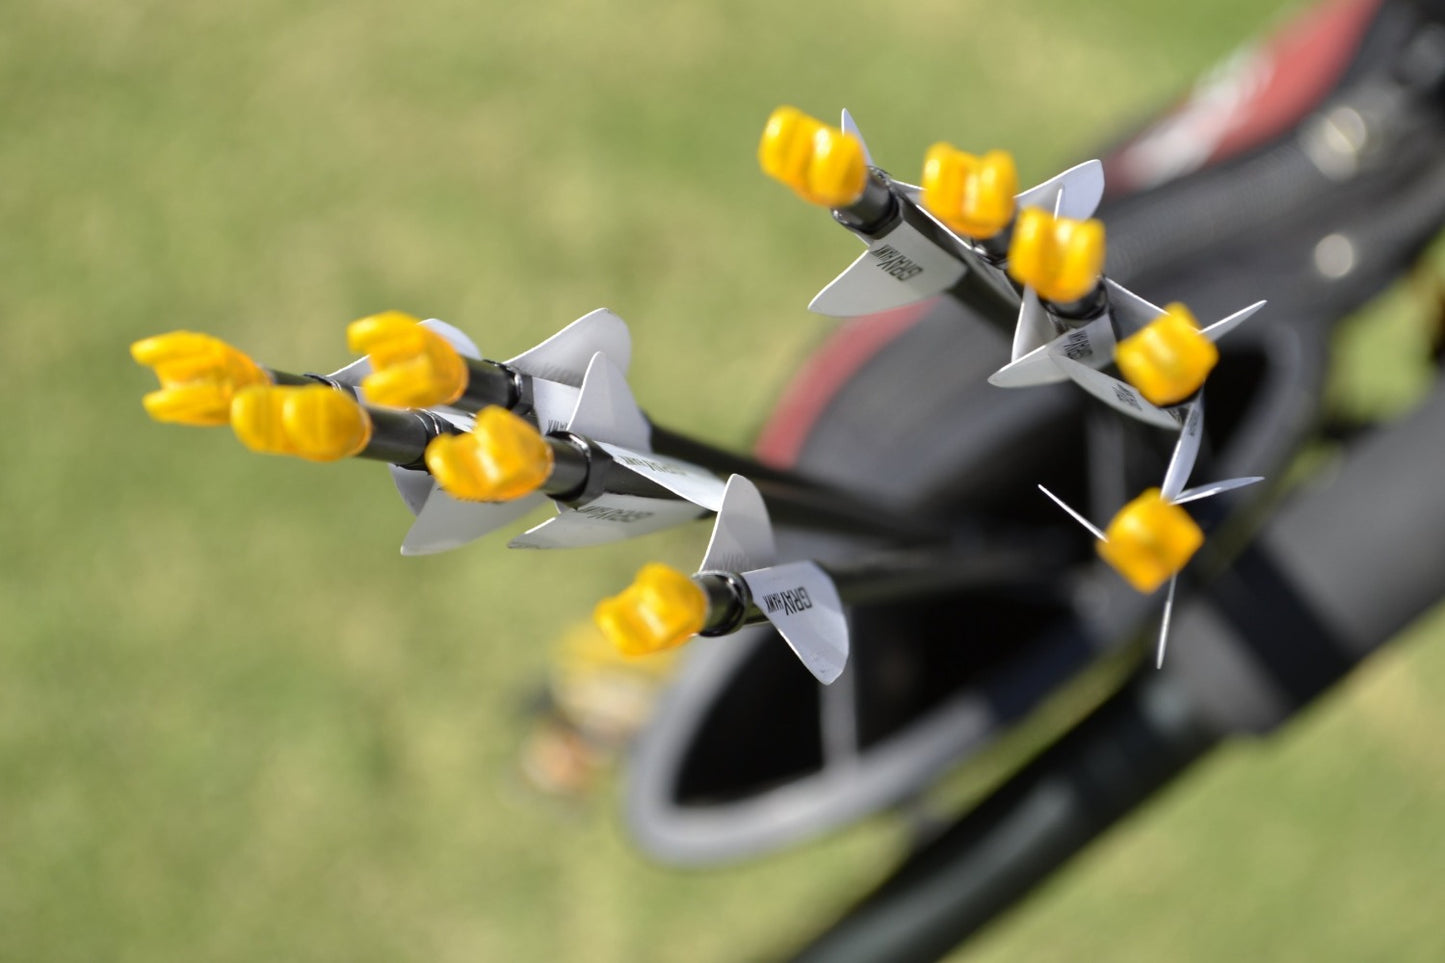
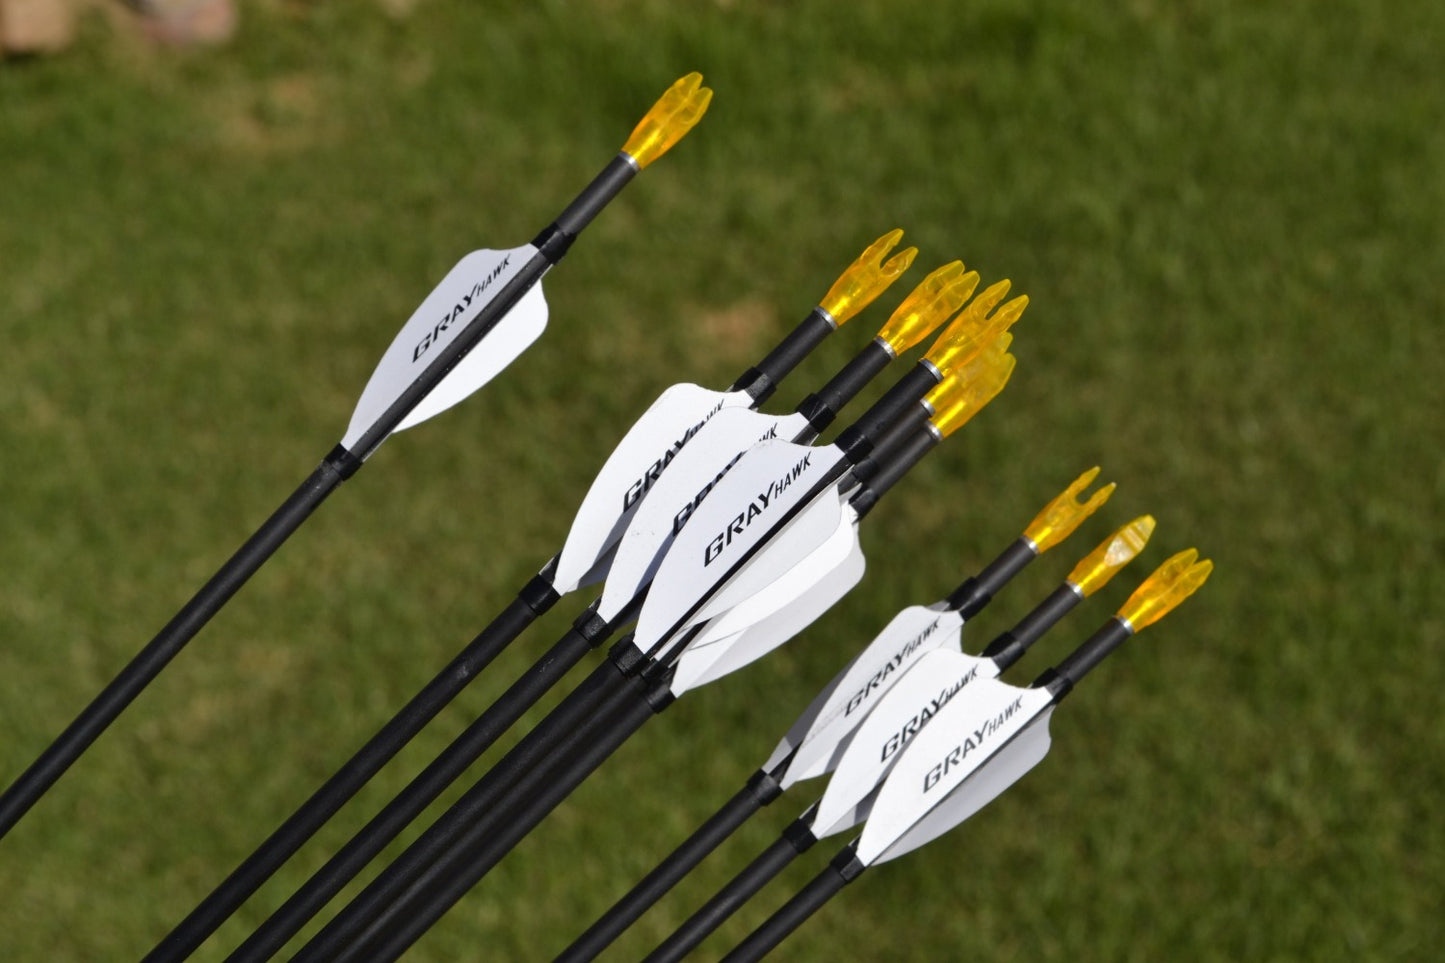
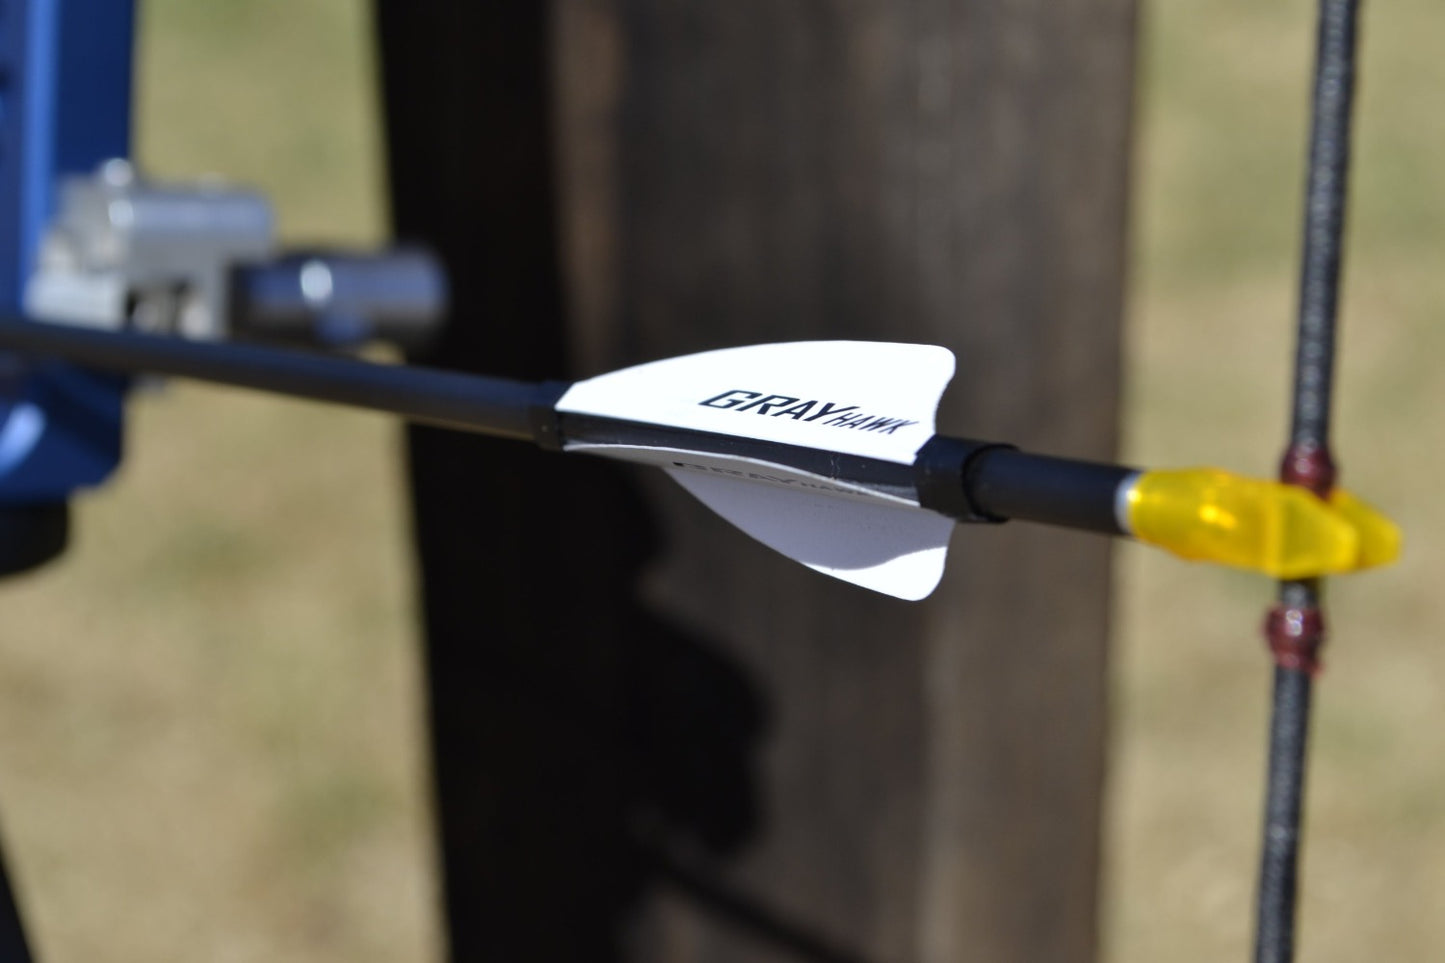
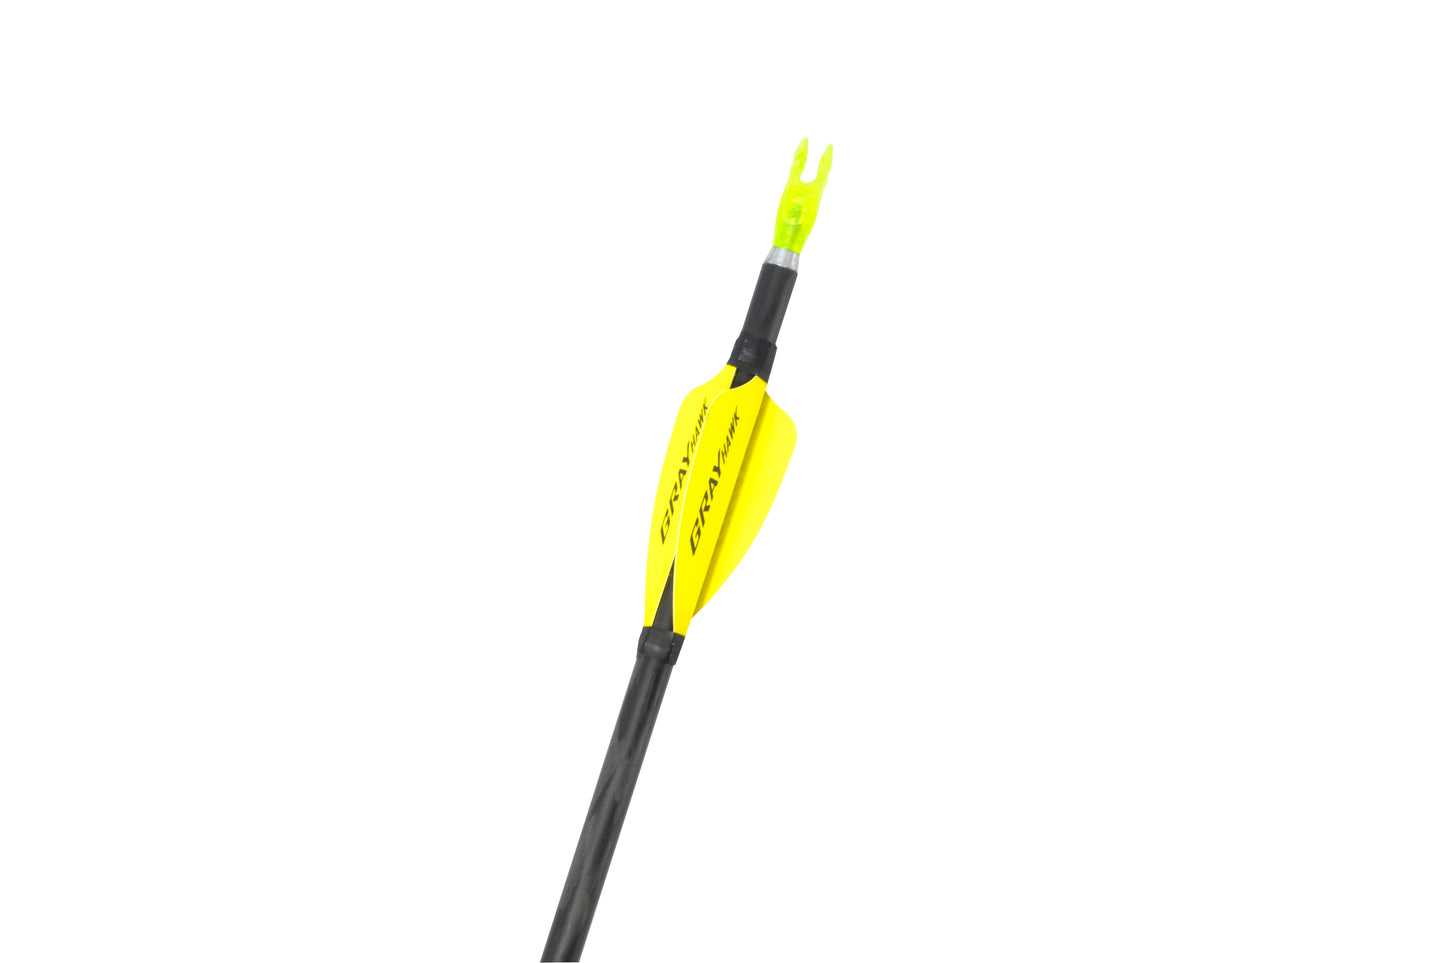
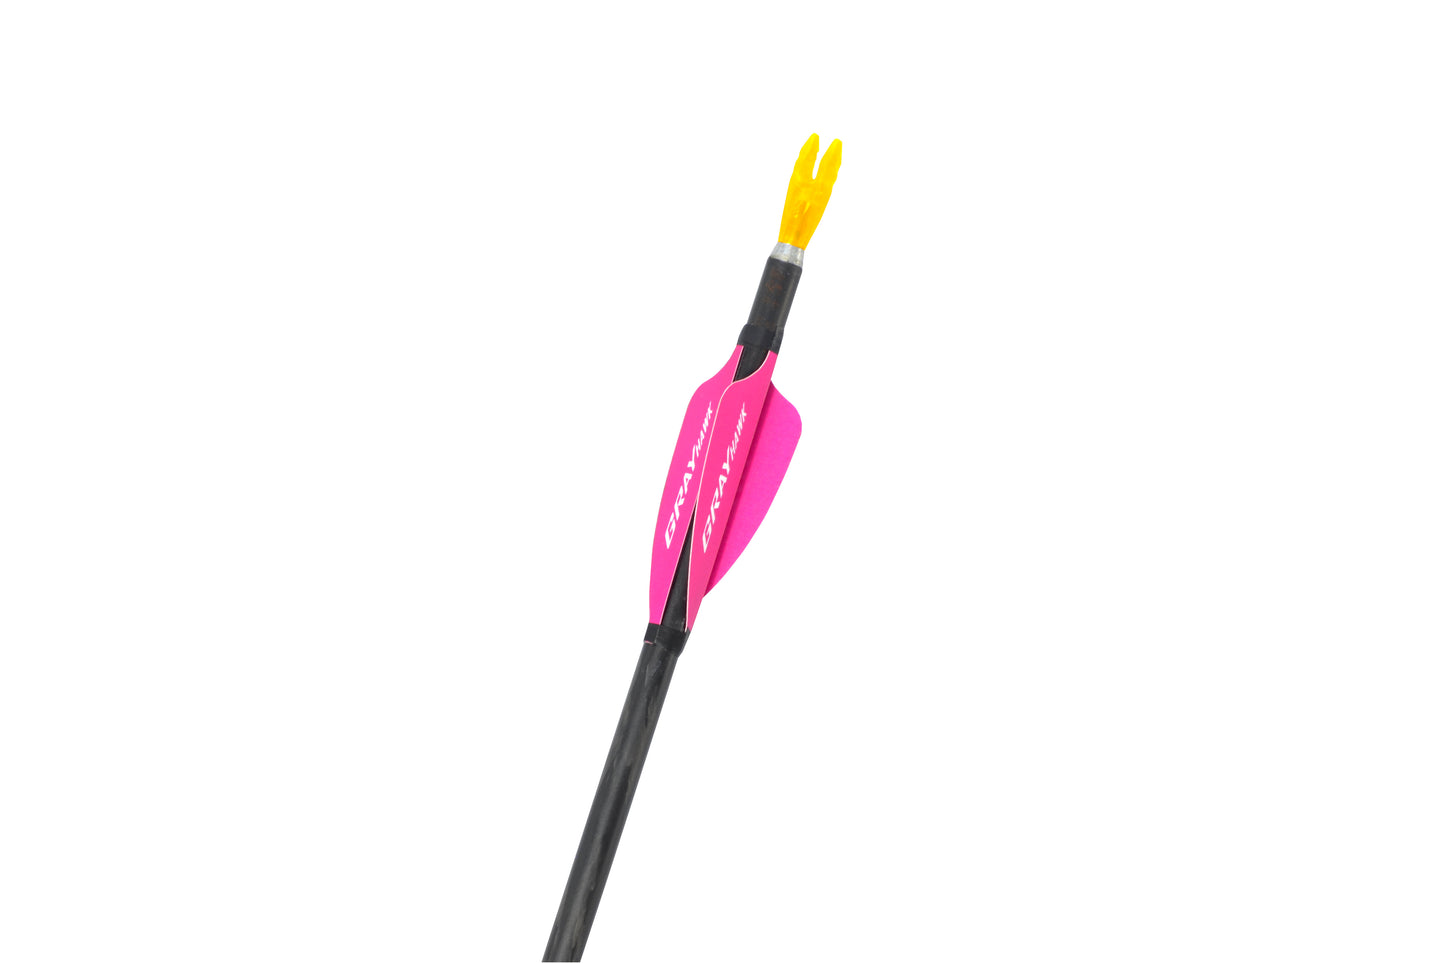
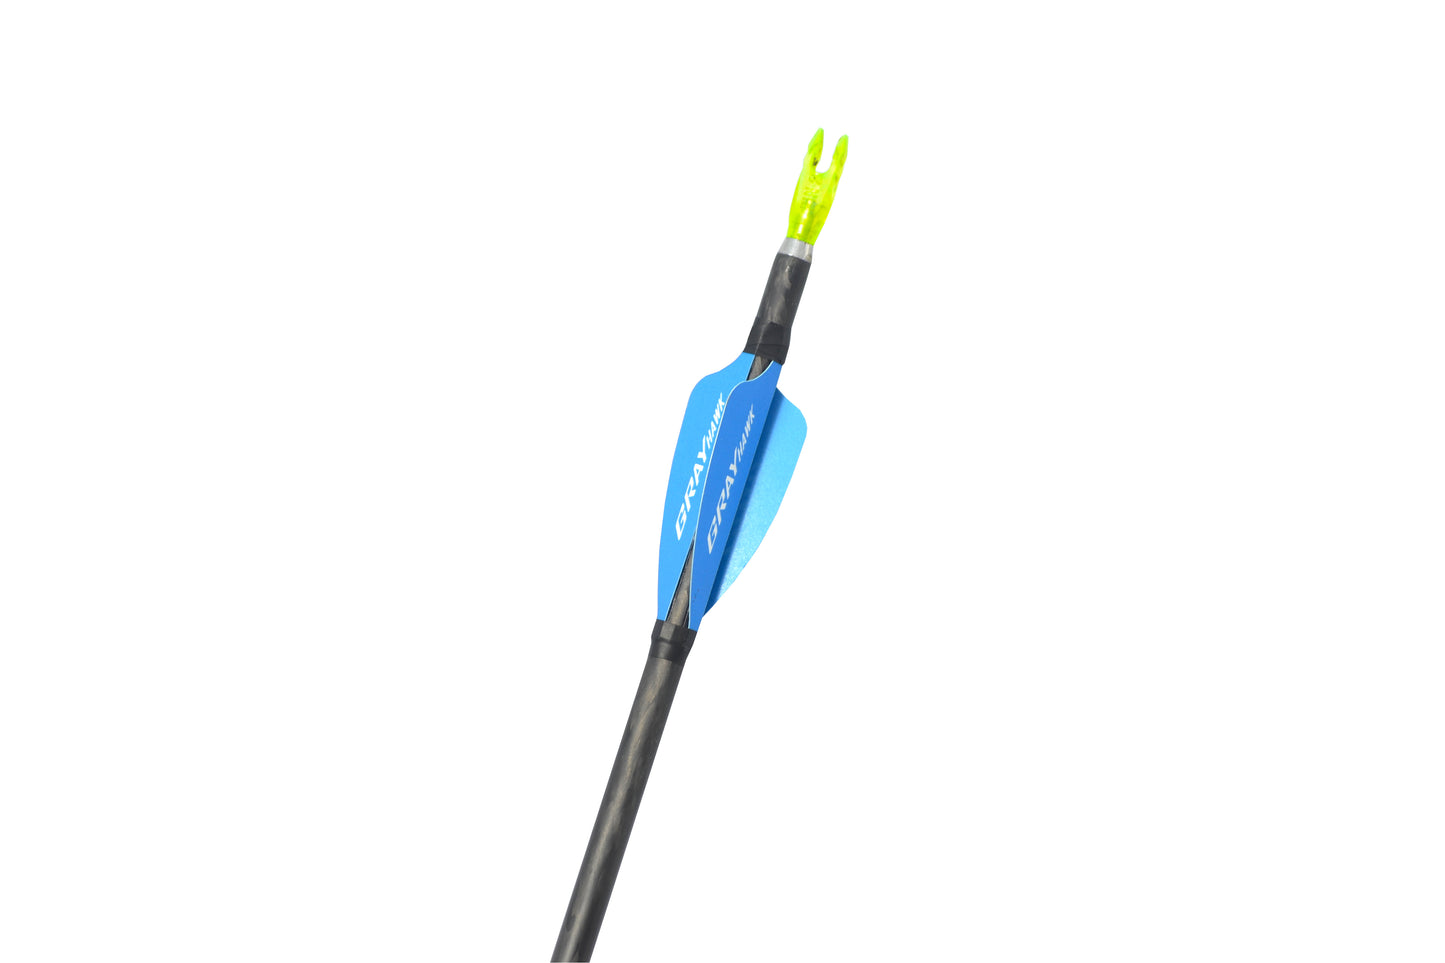
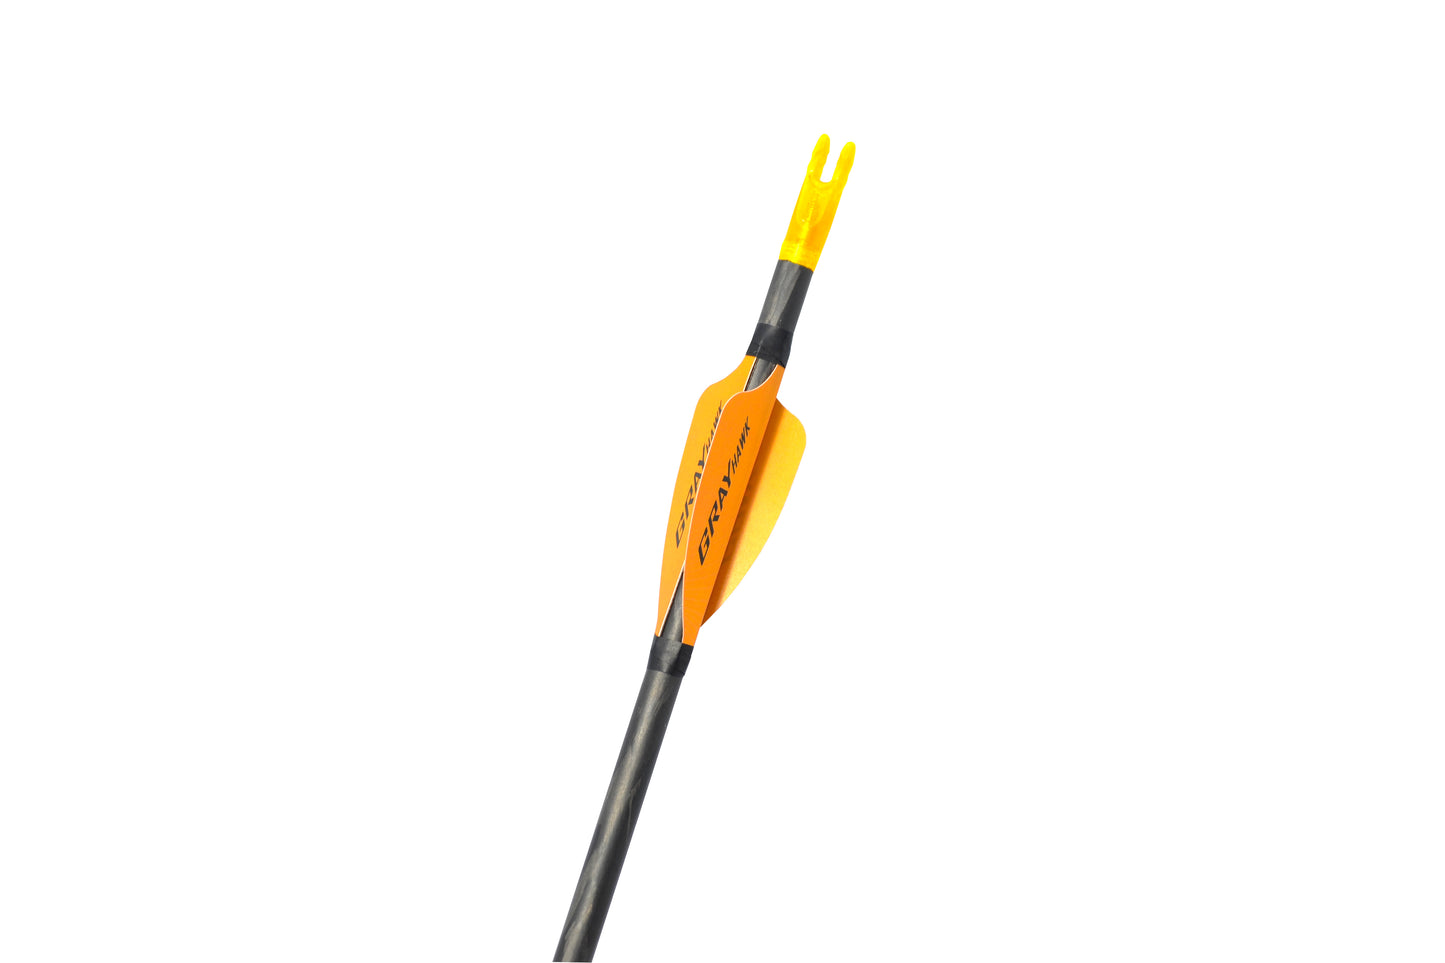
The GRAY HAWK vanes are not conventional. Employing tangential vane technology, the vane utilizes the natural helical shape formed when it is wrapped around the arrow shaft to provide a consistent drag profile. This makes GRAY HAWK vanes easier to install and more consistent than regular curled vanes.
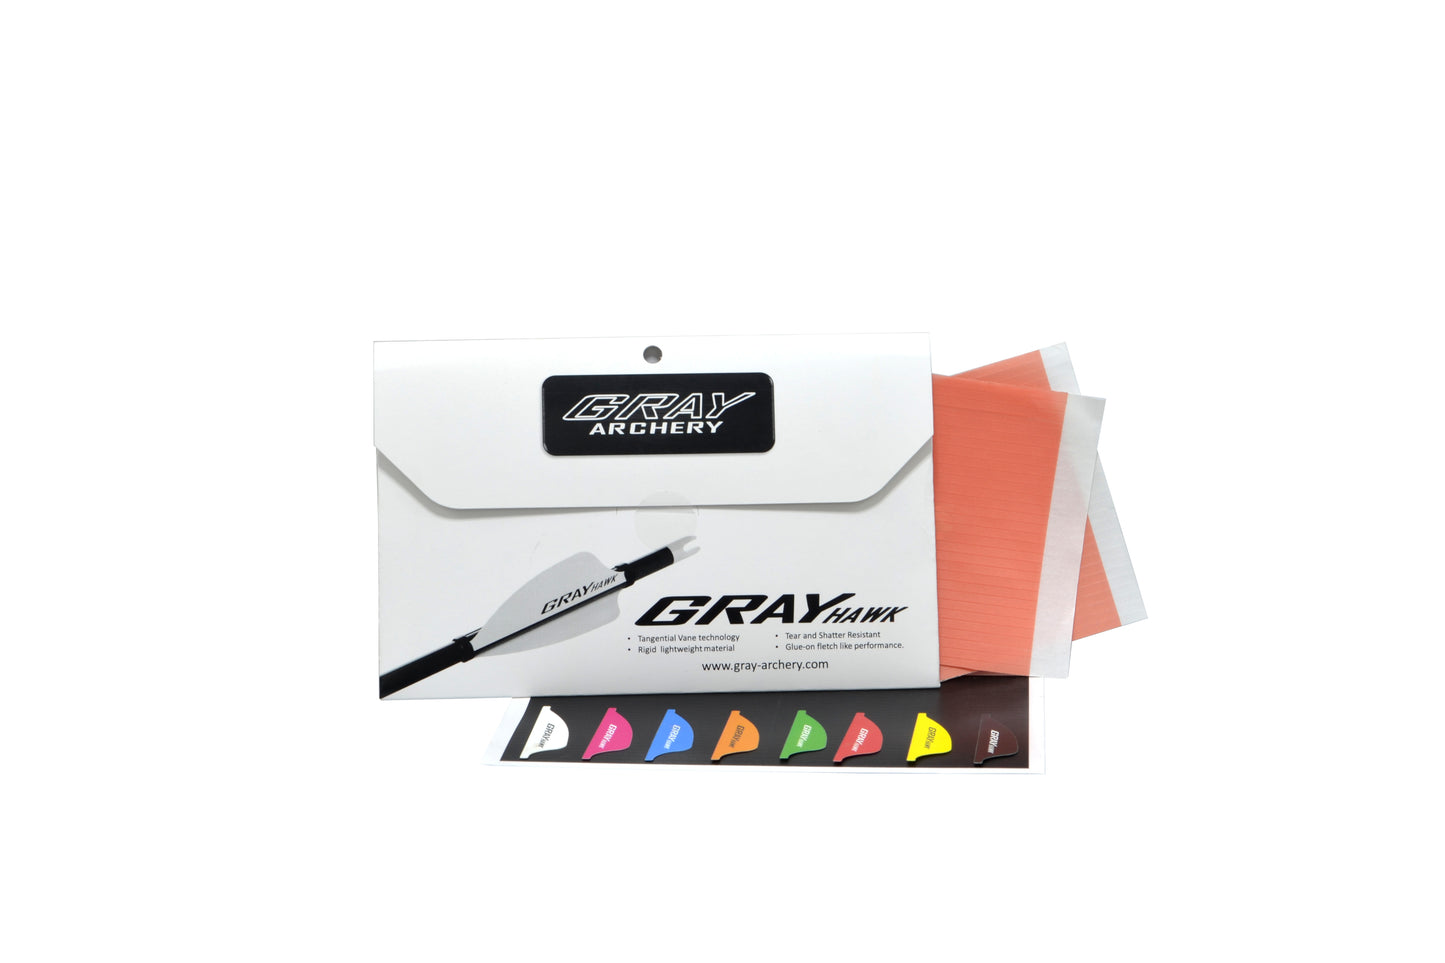
The vanes are constructed from a lightweight ,stiff and tough material that is rip resistant as well as highly adhesive to our propriety double sided tape.
The shape of the vane also gives an advantage over curled vanes by employing long attachment tabs. This ensures that the when applying the fletch tape, the shape of the vane does not bend and distort like other curled vanes, giving more consistent drag between arrows.
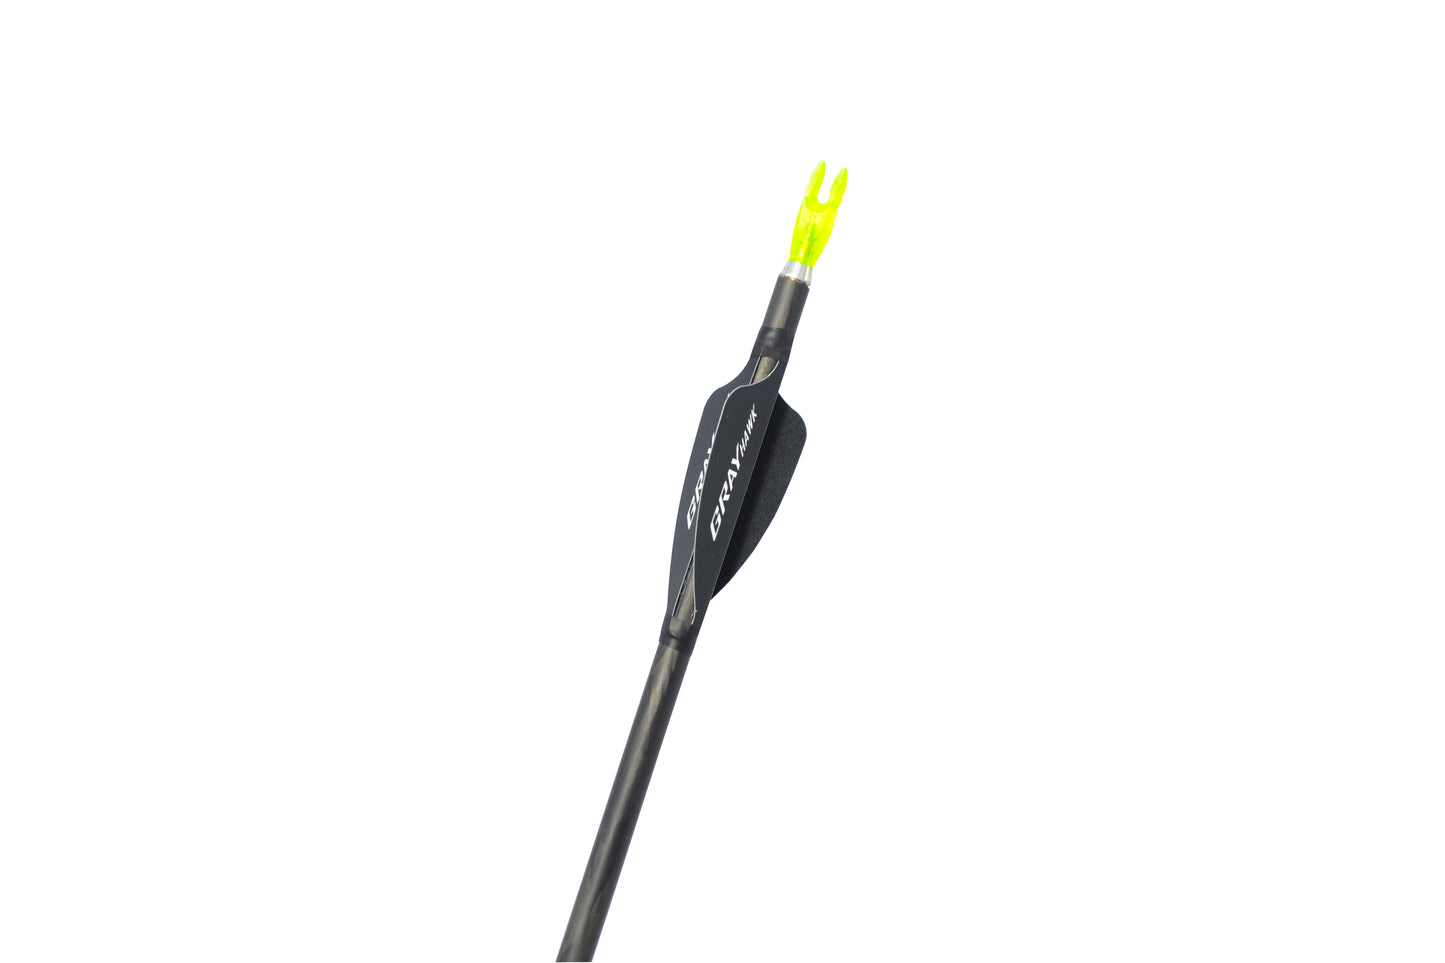
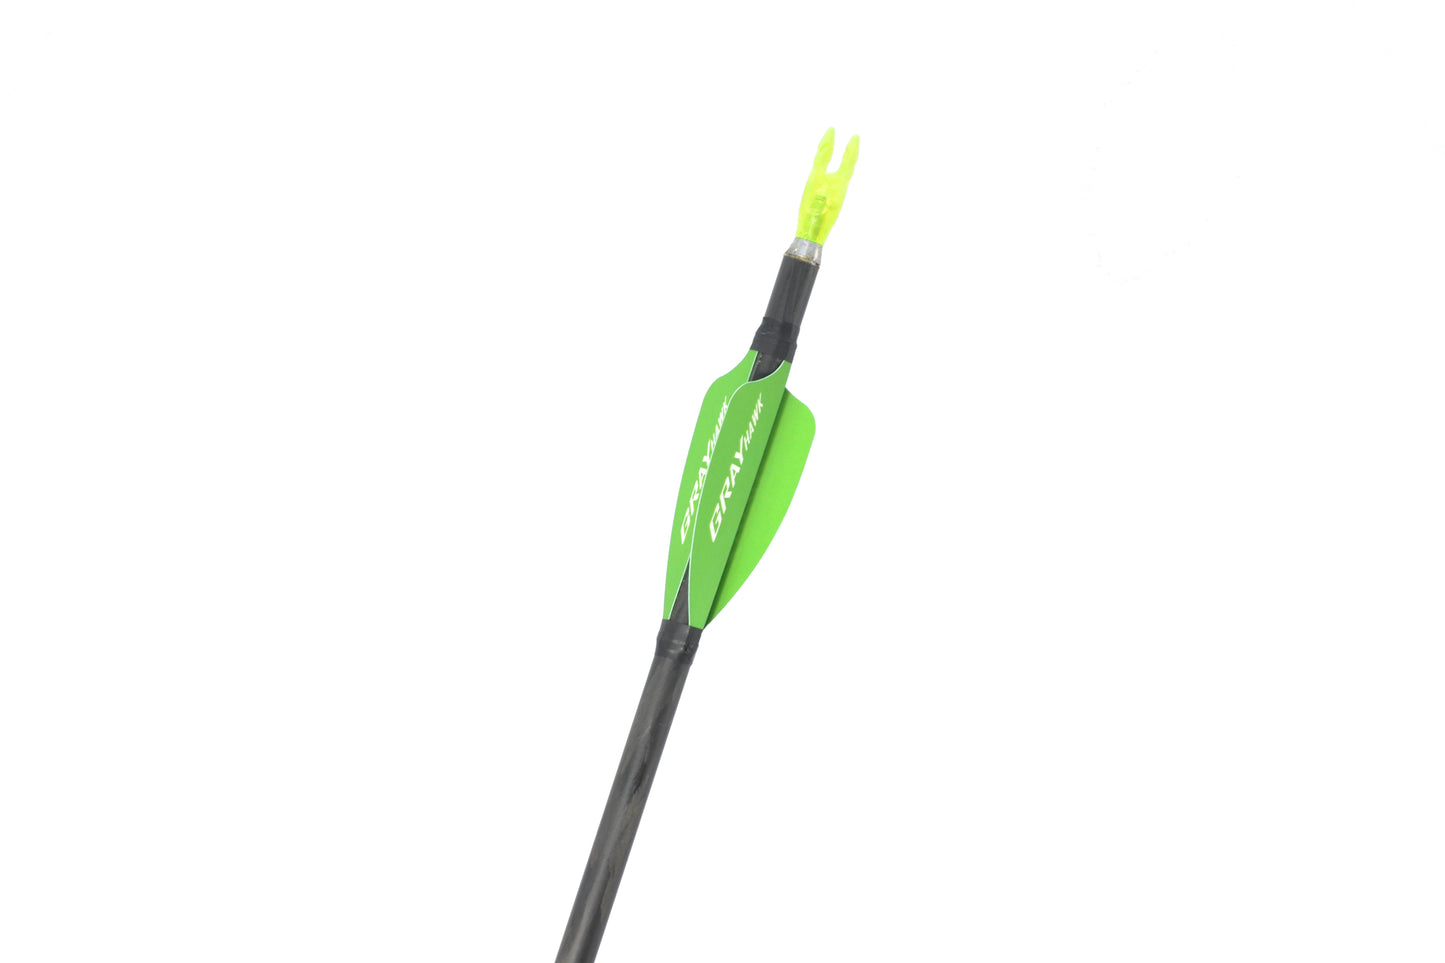
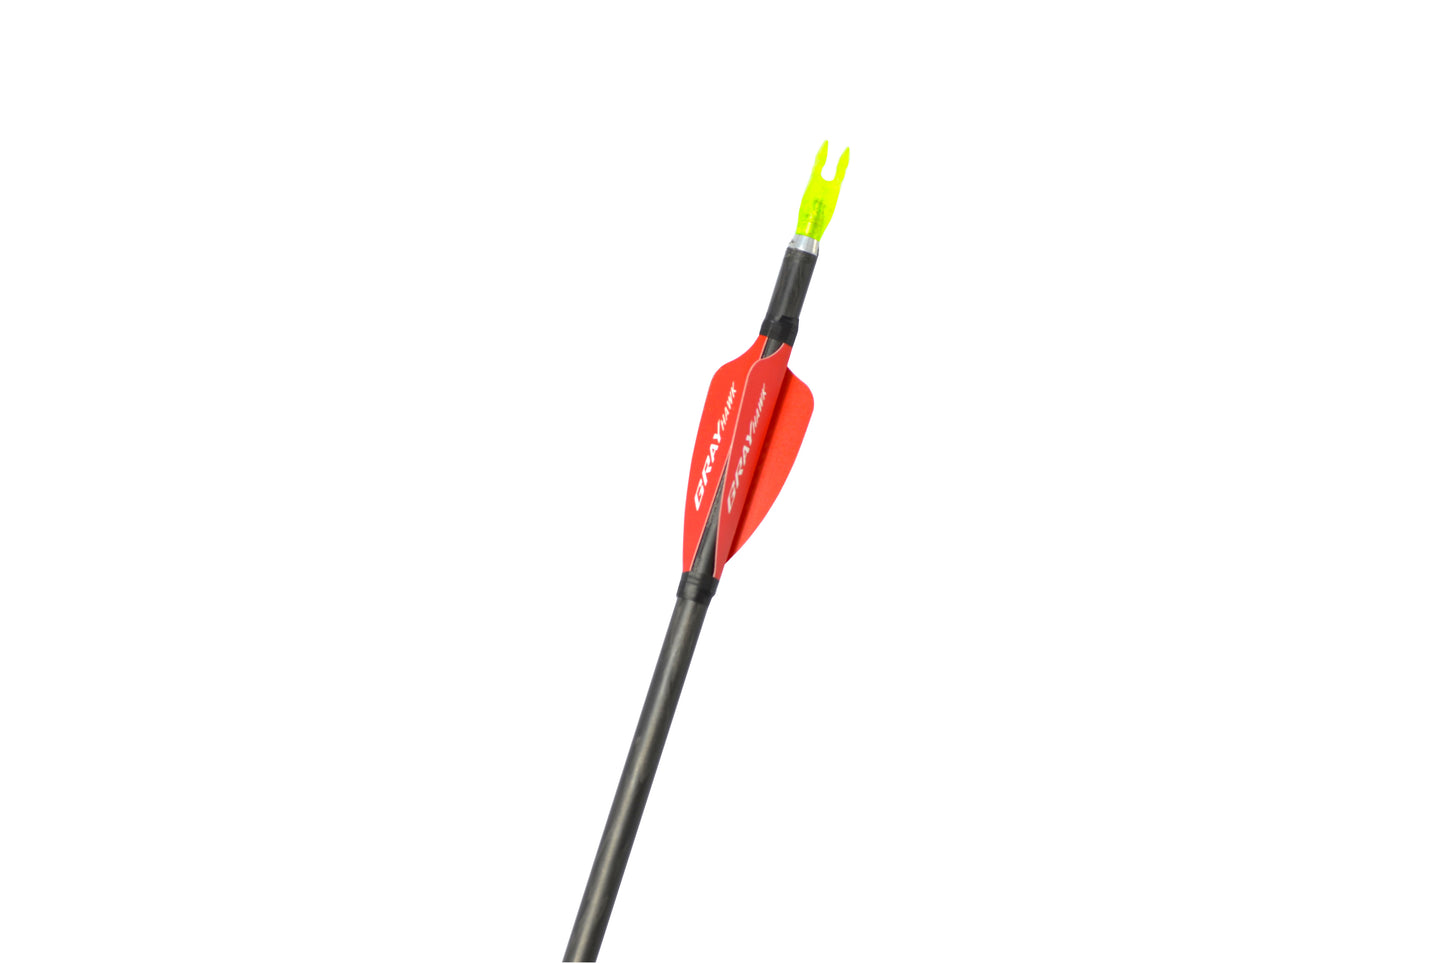
Each Pack consists of 50 vanes. A sheet of Fletch Tape and 60 strips of double sided adhesive tape. Colours of Blue, Red, Yellow and White.
Vane Mass 12gn/10 vanes.
Fletching Instructions.
- Ensure your hands are dirt and oil free.
- Clean the shaft with an alcohol-based sanitizer and ensure all oil/dirt is removed.
- Use a fine tip pen and draw 3 lines, approximately 25mm to 32mm from valley of nock, equally spaced at 120˚ apart, at a length of 52mm.
- The drag line or level of off-set should be plus or minus 2˚, depending which way your arrow naturally spins from the bow un-fletched. For clockwise rotation, draw the line in the positive direction, for anti-clockwise rotation draw the line with a negative direction, See figure 1.
- Remove a strip of the double-sided tape from the wax paper. Apply the 3 strips of tape along the 3 lines. Remove the red plastic film. Put the fletch down along the tape. Once applied, use a round plastic or steel shaft, e.g., pen cap or arrow point, to rub and apply pressure on the fletch to ensure a good bond.
- Take one strip of the coloured fletch tape and wrap the fletch tape 2 times around the shaft at each end of the fletch, ensure that the ends of the tape are cut and not ripped as this will reduce its adhesion. See figure 2.
- Rotate knock to ensure proper clearance. See figure 3.


Introduce your content
Answer your customers' common questions
List a frequently asked question
Then provide an answer that will help your customer make an informed purchase.